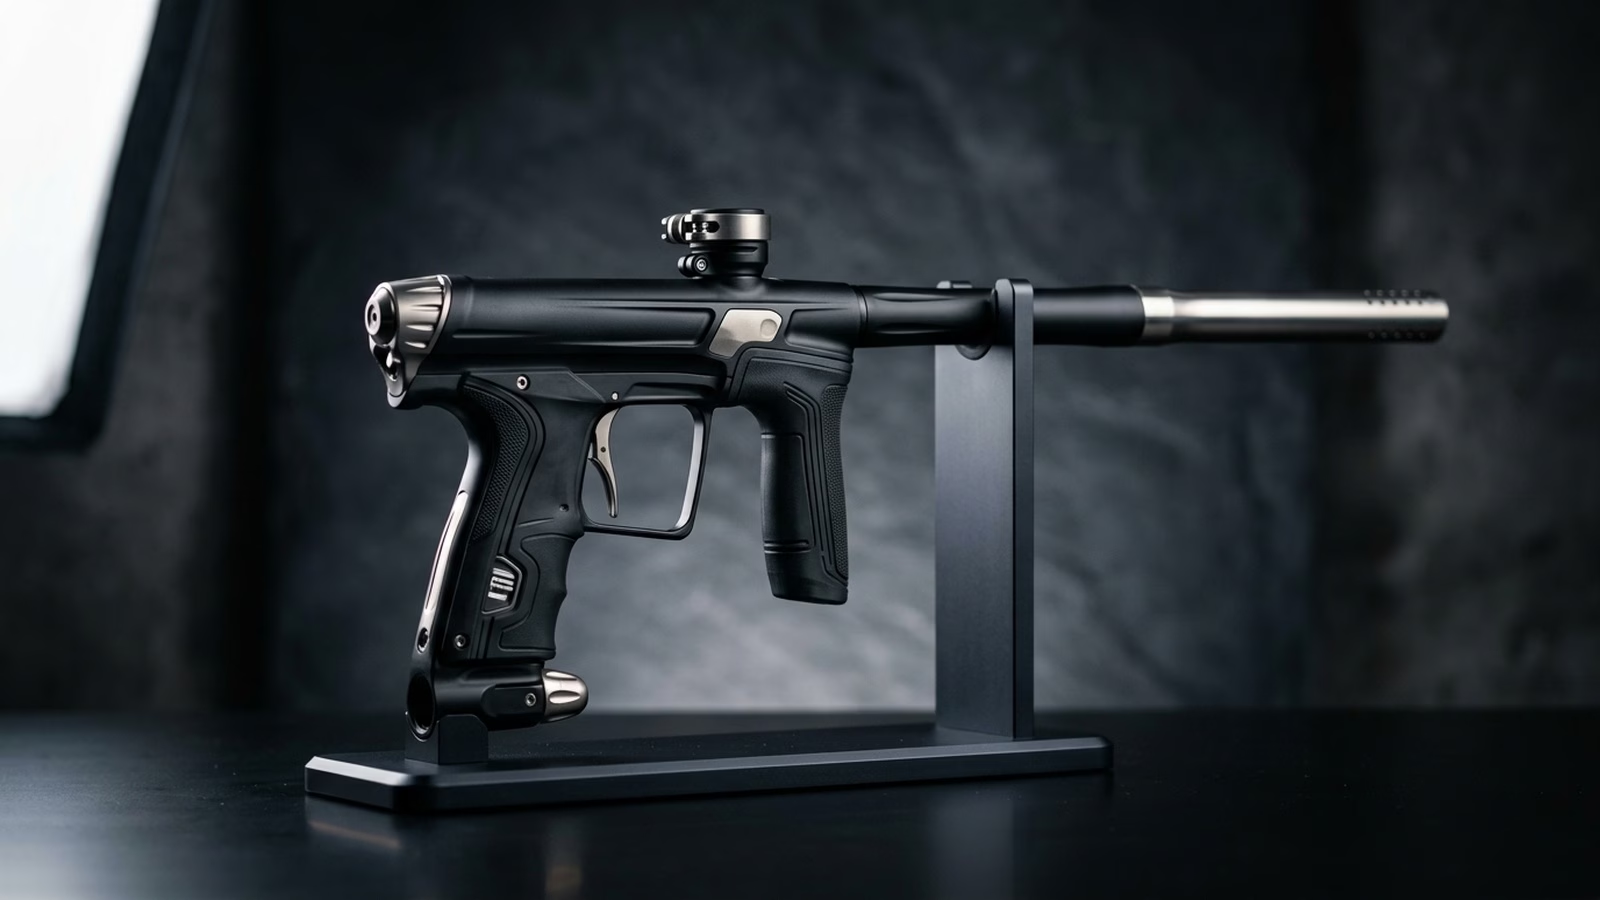
Planet Eclipse POPS • CS, LV & Gtek Series
Rapid Field Diagnostic: Planet Eclipse POPS ASA System
Performing regular pops asa maintenance on your Planet Eclipse marker preserves instantaneous degassing and protects expensive tank regulator pin valves. The Push On Purge System (POPS) uses a sliding front bonnet to depress the tank valve with mechanical leverage, sealing an internal polyurethane face disc while isolating the atmospheric exhaust port. When leaks develop or the bonnet becomes stiff to engage, 95% of failures trace back to a grooved polyurethane bonnet seal, a dry #007 push-rod O-ring, or tank output pressure exceeding 650 PSI.
In our field clinics and armorer service bays, Planet Eclipse markers routinely outlast harsh weather and grueling tournament schedules. However, neglecting scheduled pops asa maintenance creates avoidable headaches right at the chrono station. When sand, old paint remnants, or over-pressurized 800 PSI air tanks enter the POPS assembly, the sliding bonnet binds, tank pin valves take severe pitting damage, and high-pressure air begins hissing continuously from the front latch buttons or the exhaust purge port.
Whether you compete with a flagship CS3, an LV2, or run a workhorse 170R / Etha3, understanding the kinematic cycle of the POPS ASA is essential for long-term reliability. In this technical manual, we break down complete disassembly procedures, O-ring replacement sizing, dovetail slide cleaning, and dynamic pressure testing. If your marker experiences air delivery problems higher in the pneumatic drivetrain, cross-reference our troubleshooting guide on paintball ASA won’t bleed air or learn how to service paintball inline regulator assemblies for full drivetrain balance.
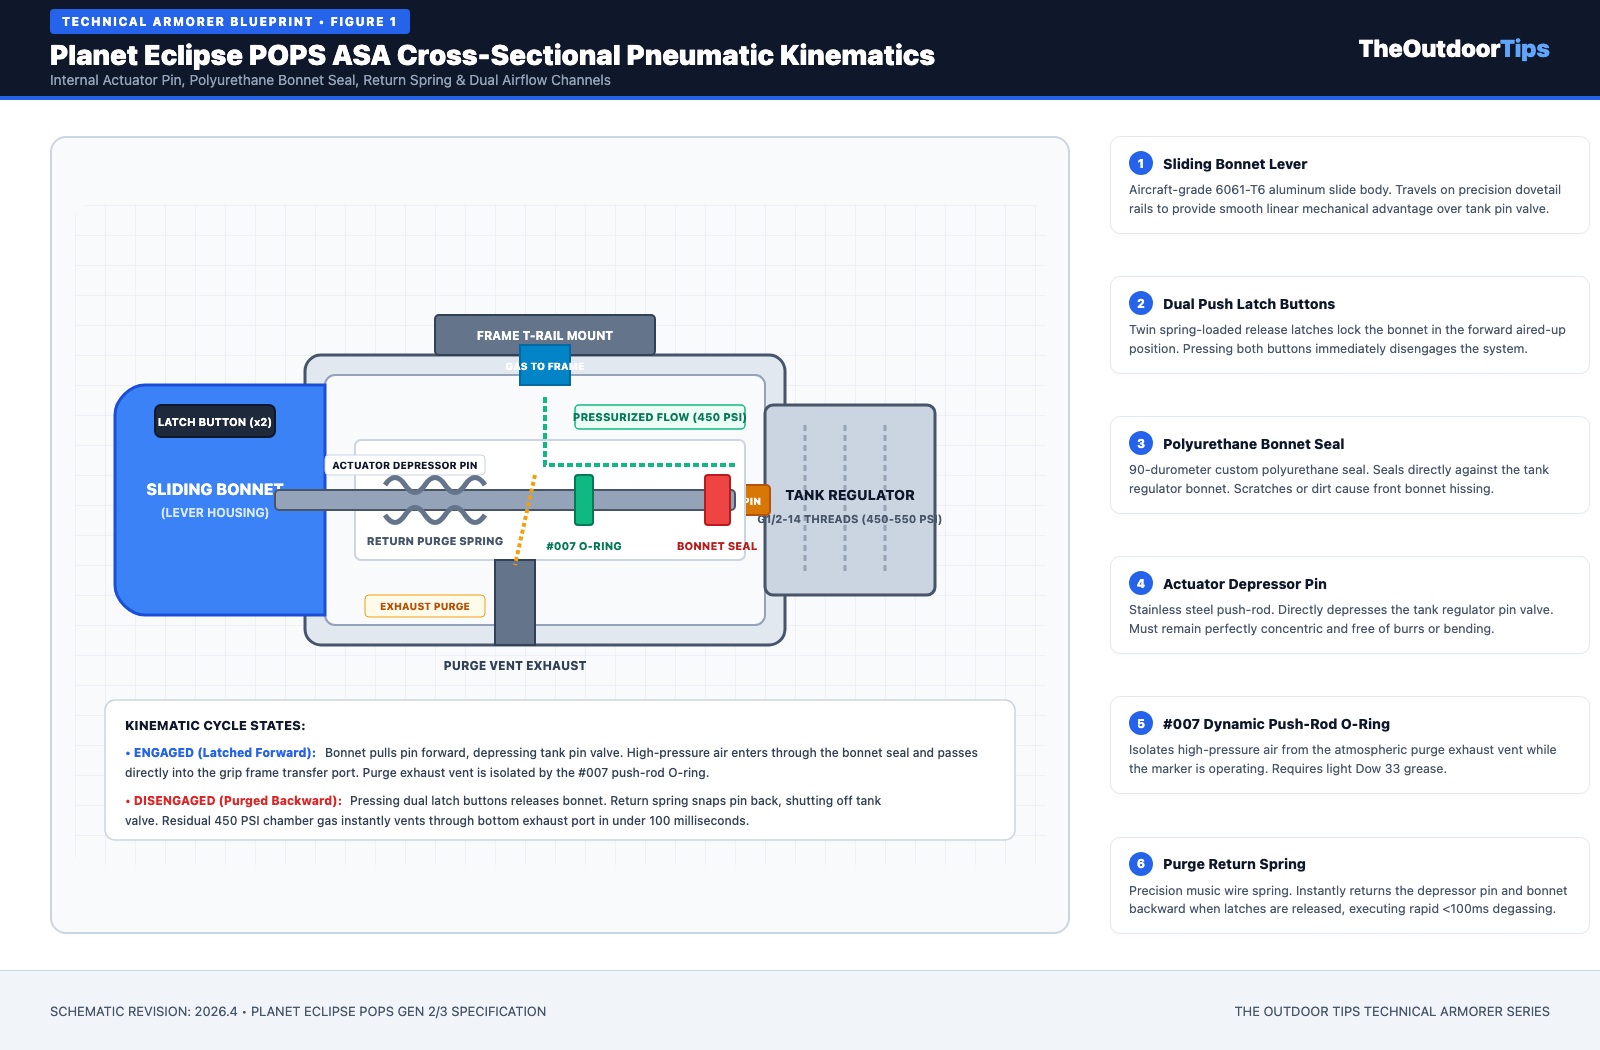
1. Pneumatic Kinematics: How the Planet Eclipse POPS ASA Operates
To conduct effective pops asa maintenance, armorers must understand how the assembly isolates and directs high-pressure air across two distinct physical states. Unlike older twisting on/off knobs that grind steel pin valves directly against aluminum bodies, the POPS (Push On Purge System) operates on linear mechanical translation.
When you slide the outer aluminum bonnet forward:
- Phase A (Engaged & Latched): The bonnet pulls the internal stainless steel actuator pin forward. This depresses the tank regulator pin valve, unseating the ball or pin and releasing 450–550 PSI compressed air. Gas passes through the center of the polyurethane bonnet seal, flows into the ASA body plenum, and routes upward through the grip frame transfer port into the in-line regulator. Crucially, the internal #007 Buna-N dynamic O-ring seals off the lower atmospheric exhaust channel, preventing air from leaking out.
- Phase B (Purged & Degassed): Depressing the twin spring-loaded side latch buttons releases the bonnet. The internal stainless return spring instantly snaps the depressor pin and bonnet rearward. The tank pin valve snaps shut, terminating air transfer. Simultaneously, the #007 O-ring travels past the exhaust vent, venting residual compressed air trapped inside the marker in less than 100 milliseconds.
This instantaneous purge eliminates residual back-pressure against the ASA threads. Consequently, players can unscrew their compressed air tank effortlessly without shredding tank neck O-rings or galling expensive aluminum threads. If your marker fails to vent air during disengagement, review our armorer protocol on how to safely empty a paintball tank at home to avoid dangerous thread separation under pressure.
2. POPS ASA Diagnostic & Failure Troubleshooting Matrix
Whenever servicing a POPS unit, use this structured symptom lookup table to pinpoint the exact failure mechanism, required O-ring replacement, and bench fix before disassembling the entire frame.
| Symptom / Condition | Root Cause / Physics Mechanism | Armorer Corrective Action | Key Seal / Component |
|---|---|---|---|
| Hissing from Front of Bonnet | Polyurethane bonnet seal is grooved, split, or contaminated with dirt. | Remove bonnet slide, extract seal with brass pick, clean seating pocket, install new polyurethane seal with light Dow 33. | PE Polyurethane Bonnet Seal |
| Continuous Leak from Vent Hole | Dynamic push-rod O-ring has nicked, flattened, or dried out under friction. | Disassemble actuator pin rod, clean inner cylinder bore, replace with fresh #007 NBR 70D O-ring, lubricate with Eclipse grease. | #007 Dynamic NBR O-Ring |
| Extreme Latching Resistance | Tank output pressure is >800 PSI, generating massive hydraulic lock against the pin. | Remove shims from tank regulator to lower output to 450–550 PSI. Clean and grease dovetail slide rails. | Tank Regulator Shims |
| Bonnet Kicks Open During Play | Latch button spring is fatigued or sand debris prevents latch teeth from engaging detent. | Submerge bonnet in 99% isopropyl alcohol, blow clean with compressed air, inspect latch spring tension, replace if worn. | Twin Latch Button Springs |
| Air Escaping Between ASA & Frame | Frame transfer seal O-ring is pinched, dried out, or mounting screw is loose. | Remove ASA from T-rail, replace #010 transfer O-ring, torque mounting bolt to 18 in-lbs with blue medium threadlocker. | #010 Transfer Port O-Ring |
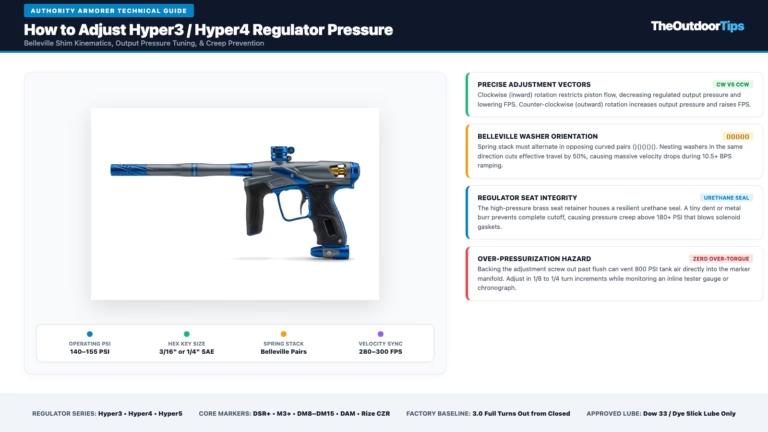
If your marker exhibits erratic velocity swings in tandem with ASA hissing, the issue may stem from in-line regulator drift rather than the ASA itself. Review our diagnostic breakdown on paintball gun velocity spikes troubleshooting and check our technical guide on how to adjust Dye Hyper regulator pressure to compare regulator recharge mechanics across major manufacturers.
3. Armorer Workbench: Essential POPS Rebuild Tools
Prior to executing pops asa maintenance, lay out the appropriate precision tools on a clean silicon tech mat. Never use steel dental picks or screwdrivers on aluminum sealing surfaces, as even microscopic gouges will cause permanent high-pressure air leaks.
- Brass or Polymer O-Ring Picks: Safe non-marring tools to extract the internal #007 O-ring and polyurethane bonnet seal without scratching the cylinder bore.
- SAE & Metric Hex Keys (5/64″, 3/32″, 1/8″): Essential for removing the POPS mounting rail screws and bonnet pin retaining clips.
- Planet Eclipse Grease / Dow 33 Lubricant: 100% pure silicone lubricant with PTFE. Never use Dow 55 (which swells Buna-N seals) or petroleum oils that degrade polyurethane.
- 99% Isopropyl Alcohol & Microfiber Swabs: Flushes old grease, aluminum swarf, and dirt from the bonnet dovetail slide channels.
- 0–1000 PSI Tank Pressure Tester: Confirms your tank regulator output is dialed into the recommended 450–550 PSI window before connecting to your marker.
For players upgrading their tournament setup with performance triggers or electronic boards, pair your ASA maintenance with our installation walkthrough for how to install aftermarket trigger on Planet Eclipse and eliminate bounce by reading paintball trigger bounce causes and fixes.
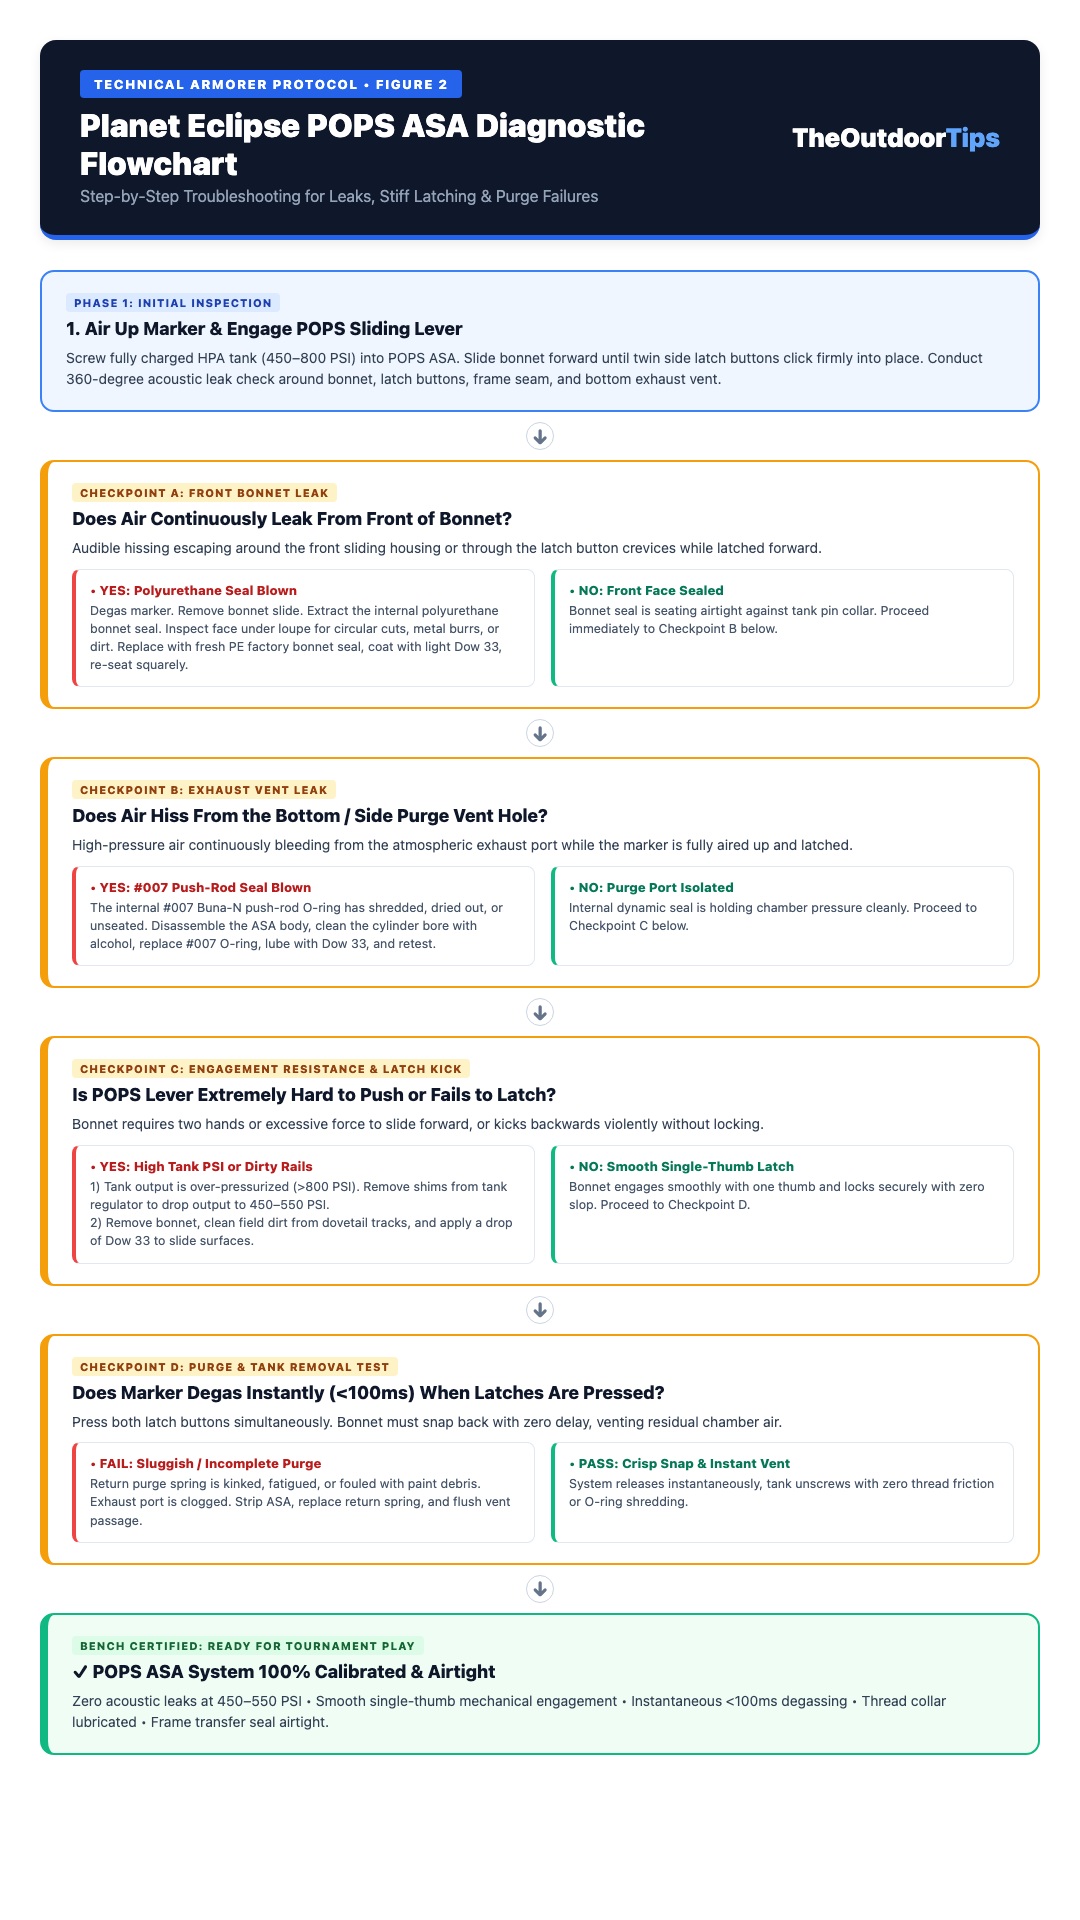
4. Step-by-Step Rebuild Protocol: Planet Eclipse POPS ASA Service
During comprehensive pops asa maintenance, following a methodical disassembly order prevents lost detent springs and protects polished internal sealing bores. Follow this authoritative five-step armorer protocol whenever conducting a teardown and rebuild of a Planet Eclipse POPS unit.
Phase 1: Marker Degassing & ASA Removal
Always confirm the marker is completely depressurized before servicing. Push both POPS release buttons and allow the bonnet to snap backward. Unscrew the compressed air tank. Dry-fire the marker in a safe direction to vent any residual air trapped in the in-line regulator or solenoid manifold. Loosen the T-rail clamping screws or internal frame mounting bolts (depending on whether your marker is a classic Gtek or an unpiped CS2/CS3/180R). Slide the POPS unit off the bottom rail and inspect the #010 transfer O-ring between the frame and ASA body.
Phase 2: Sliding Bonnet Teardown
To remove the sliding bonnet from the main POPS body:
- Locate the small retaining roll-pin or set-screw securing the actuator pin to the bonnet housing (or on newer POPS assemblies, depress both latch buttons and slide the bonnet forward past the retaining travel stop).
- Carefully slide the aluminum bonnet off the dovetail rails. Pay close attention to the small internal purge spring and twin latch button springs so they do not shoot across your workbench.
- Soak the disassembled aluminum bonnet in 99% isopropyl alcohol to dissolve caked dirt, field sand, and dried paint.
Phase 3: Actuator Pin & Polyurethane Seal Replacement
With the bonnet removed, slide the stainless steel actuator pin out of the main ASA body. Use a brass dental pick to remove the internal polyurethane bonnet seal from the front recess:
- Inspect the sealing face of the polyurethane disc under a 10x magnifying loupe. If you see circular grooves, burrs, or tears from an over-torqued tank pin valve, discard it immediately.
- Inspect the dynamic #007 Buna-N O-ring situated on the actuator pin shaft. Roll off the old O-ring, swab the shaft with alcohol, and stretch a fresh #007 70D Buna-N O-ring into the groove.
- Apply a thin, translucent sheen of Planet Eclipse grease (Dow 33) to the #007 O-ring. Do NOT over-lubricate; excessive grease will migrate into the purge exhaust vent and attract dust.
- Seat the new polyurethane bonnet seal firmly into the ASA recess, ensuring it rests perfectly flat and perpendicular to the pin travel axis.
Phase 4: Slide Rail Cleaning & Reassembly
Clean the male and female dovetail tracks on the ASA body and bonnet using a clean microfiber cloth. Apply a micro-droplet of Dow 33 to each slide rail. Insert the purge return spring onto the actuator pin, slide the pin into the cylinder bore, and align the bonnet onto the tracks. Slide the bonnet rearward until the retaining stop clicks into place. Test the mechanical action dry: pushing the bonnet forward must produce a crisp, positive click as both latch buttons engage, and pressing both buttons must instantly snap the bonnet backward under spring tension.
Phase 5: Pressurization & Leak Verification
Remount the POPS ASA onto your marker’s grip frame, ensuring the #010 transfer O-ring is seated squarely. Thread in a low-pressure HPA tank (450–550 PSI). Push the bonnet forward to latch. Listen for complete acoustic silence:
- No hissing from the front bonnet (polyurethane face seal confirmed airtight).
- No hissing from the exhaust vent hole (dynamic #007 O-ring confirmed airtight).
- No hissing at the frame seam (transfer #010 O-ring confirmed airtight).
Finally, press both latch buttons to purge. The POPS should snap back cleanly with a loud, instantaneous “pop” as residual gas vents. The tank should unscrew with effortless one-finger torque.
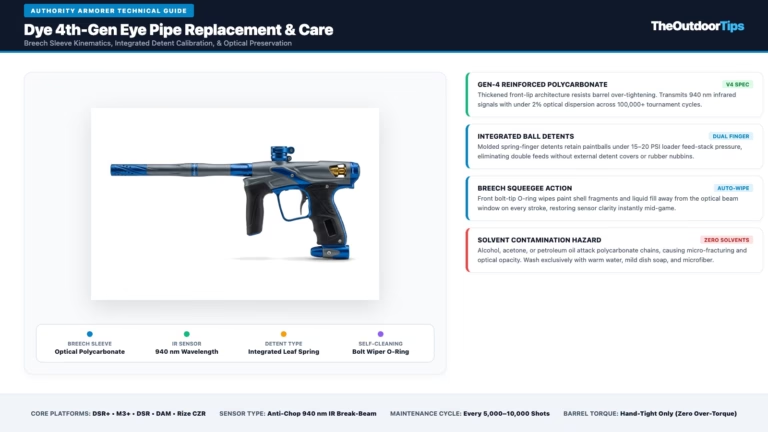
Proper air delivery is the foundation of cyclic reliability. If your marker encounters feed resistance or chops paintballs during high-speed chrony drills, verify your loader by reading our guide on paintball hopper jamming solutions and protect your breach detents with our armorer analysis on Dye eye pipe replacement and maintenance.
5. Armorer Teardown & Bench Service Video Walkthrough
Observing the exact mechanical manipulation of the POPS bonnet retaining clips and internal spring orientation is invaluable before tackling your first rebuild. The high-definition armorer video below walks through the complete disassembly and servicing sequence step-by-step.
6. Tank Regulator Output Pressure: The 450–550 PSI Golden Window
During pops asa maintenance clinics, the most frequent complaint we hear from players is: “Why is my POPS lever so stiff that I have to use two hands to push it forward?” The answer almost never lies inside the ASA itself — it is caused by excessively high tank regulator output pressure.
Another foundational element of periodic pops asa maintenance is auditing tank regulator neck O-rings (#015 urethane) and threading clearances. Standard HPA tank regulators (such as Ninja standard, HK Army Aerolite, or Empire basic regs) ship from the factory configured for 800–850 PSI high output to support blowback markers like Tippmanns. When 800 PSI air is forced against the POPS depressor pin:
- Hydraulic Pin Resistance: The surface area of the tank pin valve multiplied by 800 PSI produces over 18 pounds of counter-force directly resisting your thumb stroke.
- Premature Bonnet Seal Degradation: Crushing 800 PSI into the polyurethane bonnet seal cuts deep circular grooves into the material within 15,000 shots.
- Planet Eclipse Engineering Standard: Modern PE spool valve and poppet engines (CS3, LV2, 180R) operate internally at 105–135 PSI. They are engineered specifically for 450–550 PSI low-pressure tank output.
If you shoot an adjustable tank regulator (e.g., Ninja PRO V2 or Powerhouse Haymaker), remove the internal Belleville shims to lower output from 800 PSI to 450–500 PSI. Your POPS lever will engage effortlessly with light single-thumb pressure, and your bonnet seals will last over 50,000 shots.
Always monitor your compressed air tank certifications and hydrostatic test dates. Review our inspection guide on how to tell if paintball tank is expired to ensure your pressure vessels remain ASTM/DOT compliant.
7. Marker Ecosystem Diagnostics: Solenoid Health, Batteries & Storage
A fully serviced POPS ASA guarantees clean air volume delivery, but the rest of your marker’s pneumatic ecosystem must function harmoniously. If air pressure enters the frame cleanly but your marker refuses to cycle, the issue often points to solenoid spool stiction or low battery voltage. Check our step-by-step diagnostic on paintball solenoid clicks gun won’t fire and verify battery terminal outputs with our protocol for paintball gun not turning on.
Similarly, mechanical bolt stiction (“first-shot drop-off”) can mimic regulator or ASA starvation. Learn how to diagnose dry bolt O-rings and dynamic friction in our guide on paintball bolt stick causes and fixes. If you service mechanical blowback markers alongside your tournament electro-pneumatics, explore our detailed teardowns on how to rebuild Tippmann 98 valve and how to rebuild Tippmann Cyclone feed.
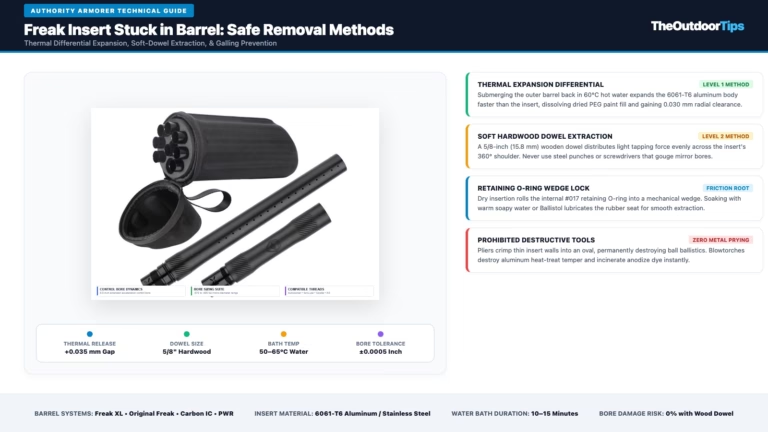
When putting your gear away after a tournament or preparing for winter storage, proper degassing and seal preservation prevent O-ring rot. Follow our winterization checklist in how to store paintball marker offseason, and keep barrel maintenance non-destructive with our armorer procedures for how to remove stuck Freak insert and how to remove stuck paintball barrel.
Tournament Tech Bench Standard
Final Armorer Recommendation on POPS ASA Maintenance
The Planet Eclipse POPS ASA remains the gold standard in paintball air on/off systems due to its robust mechanical leverage and instantaneous <100ms purge exhaust. Regular pops asa maintenance every 20,000 shots requires less than ten minutes of bench time but guarantees effortless one-thumb engagement, eliminates shredded tank O-rings, and protects internal solenoid valves from catastrophic pressure spikes.
Keep your tank output dialed to 450–550 PSI, replace the polyurethane bonnet seal at the first sign of circular grooving, lubricate exclusively with pure Dow 33 silicone grease, and your POPS assembly will deliver flawless tournament performance season after season.
Frequently Asked Questions (FAQs)
How often should I perform pops asa maintenance on my Planet Eclipse marker?
Under normal tournament play, perform pops asa maintenance every 20,000 to 30,000 shots (approximately once every two to three months). If you play in muddy, sandy, or extreme dust environments, wipe down and re-lubricate the dovetail rails after every weekend of play.
Why is air leaking from the front of my POPS bonnet when aired up?
A front bonnet hissing leak indicates that the internal polyurethane bonnet seal is cut, split, or contaminated with field dirt. Remove the bonnet, extract the polyurethane seal, clean the pocket with 99% alcohol, and replace it with a genuine Planet Eclipse bonnet seal lightly coated with Dow 33 grease.
What O-ring size is used on the POPS actuator depressor pin?
The dynamic push-rod seal on the POPS actuator pin is a standard #007 70-durometer Buna-N (NBR) O-ring. This O-ring prevents high-pressure air from venting out the atmospheric exhaust port during firing.
Why is my POPS lever so hard to push forward?
Excessive latching stiffness is almost always caused by high tank regulator output pressure (800–850 PSI) resisting the actuator pin. Remove shims from your tank regulator to reduce output to the manufacturer-recommended 450–550 PSI. Additionally, clean and apply a thin film of Dow 33 to the dovetail rails.
Can I use Dow 55 or gun oil inside a Planet Eclipse POPS ASA?
No. Never use Dow 55 or petroleum-based gun oils inside a POPS ASA. Dow 55 causes Buna-N O-rings to swell, resulting in bonnet binding and sluggish purge cycles. Petroleum oils degrade the polyurethane bonnet seal. Use exclusively 100% pure silicone grease such as Planet Eclipse Gun Grease or Dow 33.